Gua sha has been around for centuries, but has picked up popularity in the skincare world over the past few years. But what exactly is gua sha, and – more importantly – does it work? Here’s everything you need to know about using gua sha in your skincare routine.
What is Gua Sha?
Gua sha is a healing technique that is derived from traditional Chinese medicine. It involves using a smooth-edged tool to gently scrape the skin. Gua sha can be used all over the body, and may help improve lymphatic drainage, support circulation, and relieve joint and muscle pain.
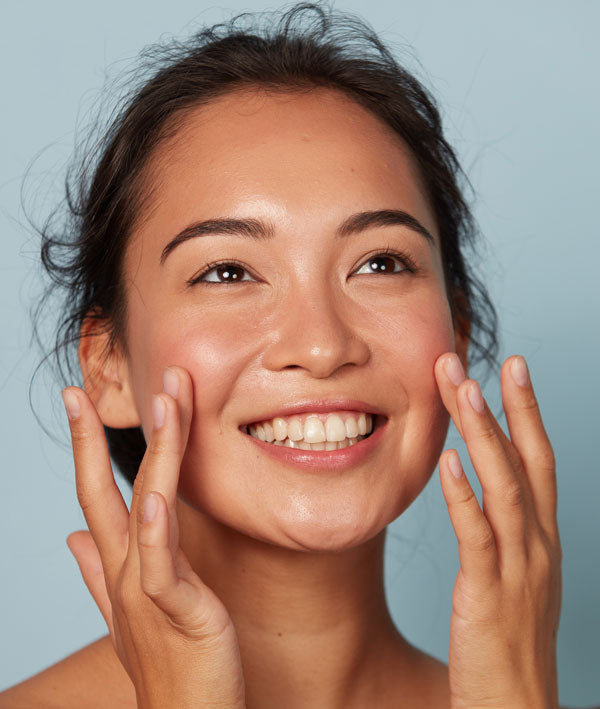
In more recent years, a gentler version of this practice has also been adapted for the face. Today, when you hear someone talk about gua sha, there is a good chance they are referring to facial gua sha. When used on the face, it is believed to reduce puffiness and sculpt the muscles while promoting a more youthful complexion.
With traditional gua sha, the goal is to address stagnant energy and heal the body by triggering petechiae (purple or red spots that look like light bruising) on the skin. However, with at-home gua sha, the aim should be to apply pressure without causing visible discoloration – especially when it comes to practicing gua sha on the face.
While a variety of different tools can be used, you’ll get the best results from a gua sha tool. This type of tool is specifically made with smooth, rounded edges that fit to your contours and won’t damage your skin. The most popular options on the market today are made of stones like rose quartz, jade, and bian shi. However, you’ll find other options as well, including some made with stainless steel.
Does Gua Sha Work?
Some early research has shown that traditional gua sha may help relieve chronic neck pain and reduce the severity of migraines. However, as far as using gua sha on the face goes, little research has been done to show how the tool may transform the skin.
That said, many skincare enthusiasts have shared that they’ve noticed the tool helps reduce tension in the face, sculpt facial muscles, and promote more glowing skin. Ultimately, you shouldn’t expect the practice to completely transform your complexion. However, when used in tandem with thoughtfully chosen and science-backed skincare products, it can be a nice addition to your routine.
How to Use Gua Sha
The gua sha method can be used all over the body, but let’s focus on how you can use gua sha in your facial skincare routine. Once you have a gua sha tool that is specifically made for the face, you can begin by cleansing your skin and patting it dry. If you use a toner, you’ll also want to apply it now.
Next, you’ll apply facial oil all over your face and neck. Using a generous amount is key, as it will help the tool seamlessly glide without tugging at the skin.
Once you’ve applied your oil, you’re ready to start scraping. As you move over each area, you’ll want to hold the tool at approximately a 45-degree angle as you gently scrape. All movements should move upwards, and should be repeated three to five times in each section.
Here’s a look at how you should treat each area of the neck and face:
Once you are done, you can massage the remaining oil into your skin, or gently dab away any excess with a cloth. You can then apply any other products you may use in your routine, including face serums and a moisturizer.
Be sure to also clean your tool after use to avoid spreading any debris or bacteria to your skin. Simply wash it with warm water and a facial cleanser or mild soap.
When to Use It
You can use your gua sha tool in the morning or at night – it ultimately depends on your routine and preferences. Many like to gua sha in the morning to help reduce puffiness and stimulate circulation for a natural glow, while others like to use the relaxing practice to wind down before bed.
To start, you can use the technique once a week, allowing your skin to adjust. Over time, you can work up to daily use, if desired. Be consistent with your practice to get the best results.
Top Benefits of Gua Sha
To reiterate, here is a breakdown of how facial gua sha may benefit the skin:


